Materials
Parts and Materials we used:
- Velcro Piece (Description: This is used to attach the rest of the product to the headphones.) Cost: $30 per piece
- 1/2 Polyester sports band headband (Description: This is the band that supports the staying in place so that the headphones don't move around.) Cost: $8 per piece
- Sewing Thread (Description: This piece is to hold the axle joint and sports band together.) Cost: $0.01
- PLA 3d printed axle joints (Description: This piece is attached to the headphones so that the sports band can move in different directions according to the users preference.) Cost: $0.01 per 2 pieces
Tools and Equipment
We used roughly an hour a day in class for 7 days to build the prototype.
-3D printer
-Sewing Needle
-3D printer
-Sewing Needle
Building Procedures
-First step was taking our time with building the joint since this was going to be the most complicated part. We had to adjust to the hundredth of an inch in order to have a working joint, which took many trials and tribulations. We were able to complete this on Fusion, and have various documents of our final design. The main purpose of the joint is to allow about 150 degree movement
-The second step we took was buying material, that included 15 feet of Velcro for around 20 dollars, and a polyester sports band for about 12 dollars, both bought from Walmart
-Third step included measuring people in our classes' half a head size. and taking about an average of 12.5 inches and subtracting an inch, and cutting 11.5 inches out of the headband (upstretched). The reason we subtracted this inch was because we knew that the band was capable of stretching almost 3 inches without permanent deformation to the fibers.
-Step four included using a borrowed sewing kit and sewing the ends of the headphones to the plastic joint piece. This required an estimated 1-2 meters of sewing thread, and was completed in just under an hour.
-Step Five includes attaching Velcro to the base of the plastic piece. We had to measure about 1/8 of width in Velcro that we needed to be able to put the Velcro through the hole in the base. We then took each side of the Velcro, and tightly taped it until we felt it was secured enough to handle large amounts of stress from any sized head.
PLA piece design and prints
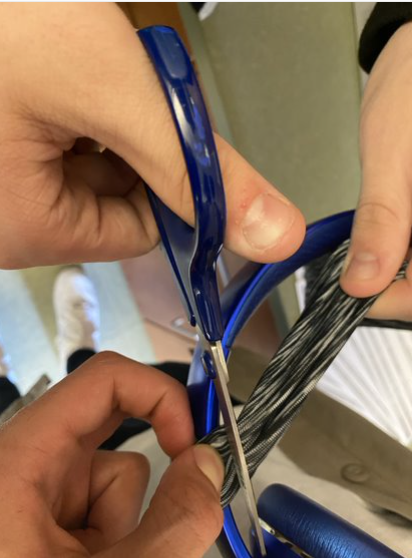
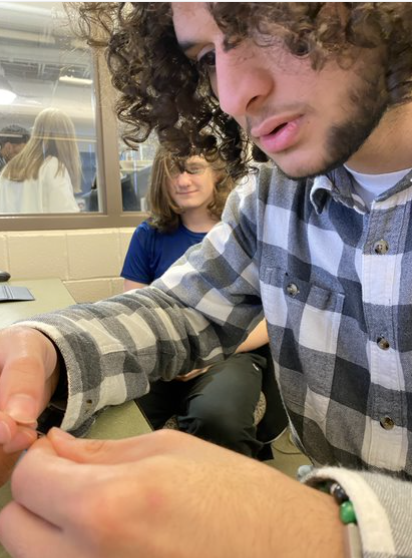
process of building
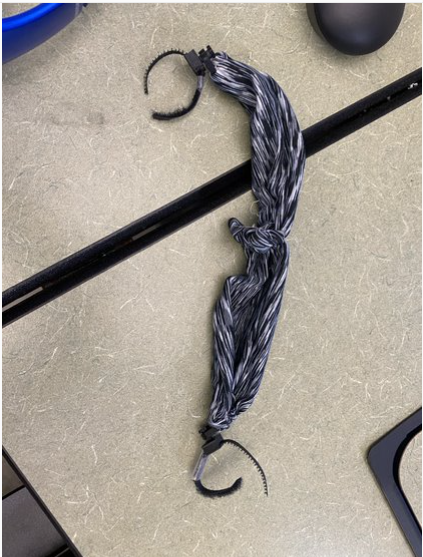
finished product
Special Thanks
We would like to thank Mrs. Zienty for guiding and supplying us.
We would also like to thank many of the WTHS staff for their feedback and advice.
Finally, we like to thank Mrs. Erin Reed over at NASA for giving us meaningful advice which helped us choose which design to build.
We would also like to thank many of the WTHS staff for their feedback and advice.
Finally, we like to thank Mrs. Erin Reed over at NASA for giving us meaningful advice which helped us choose which design to build.
